Introduction
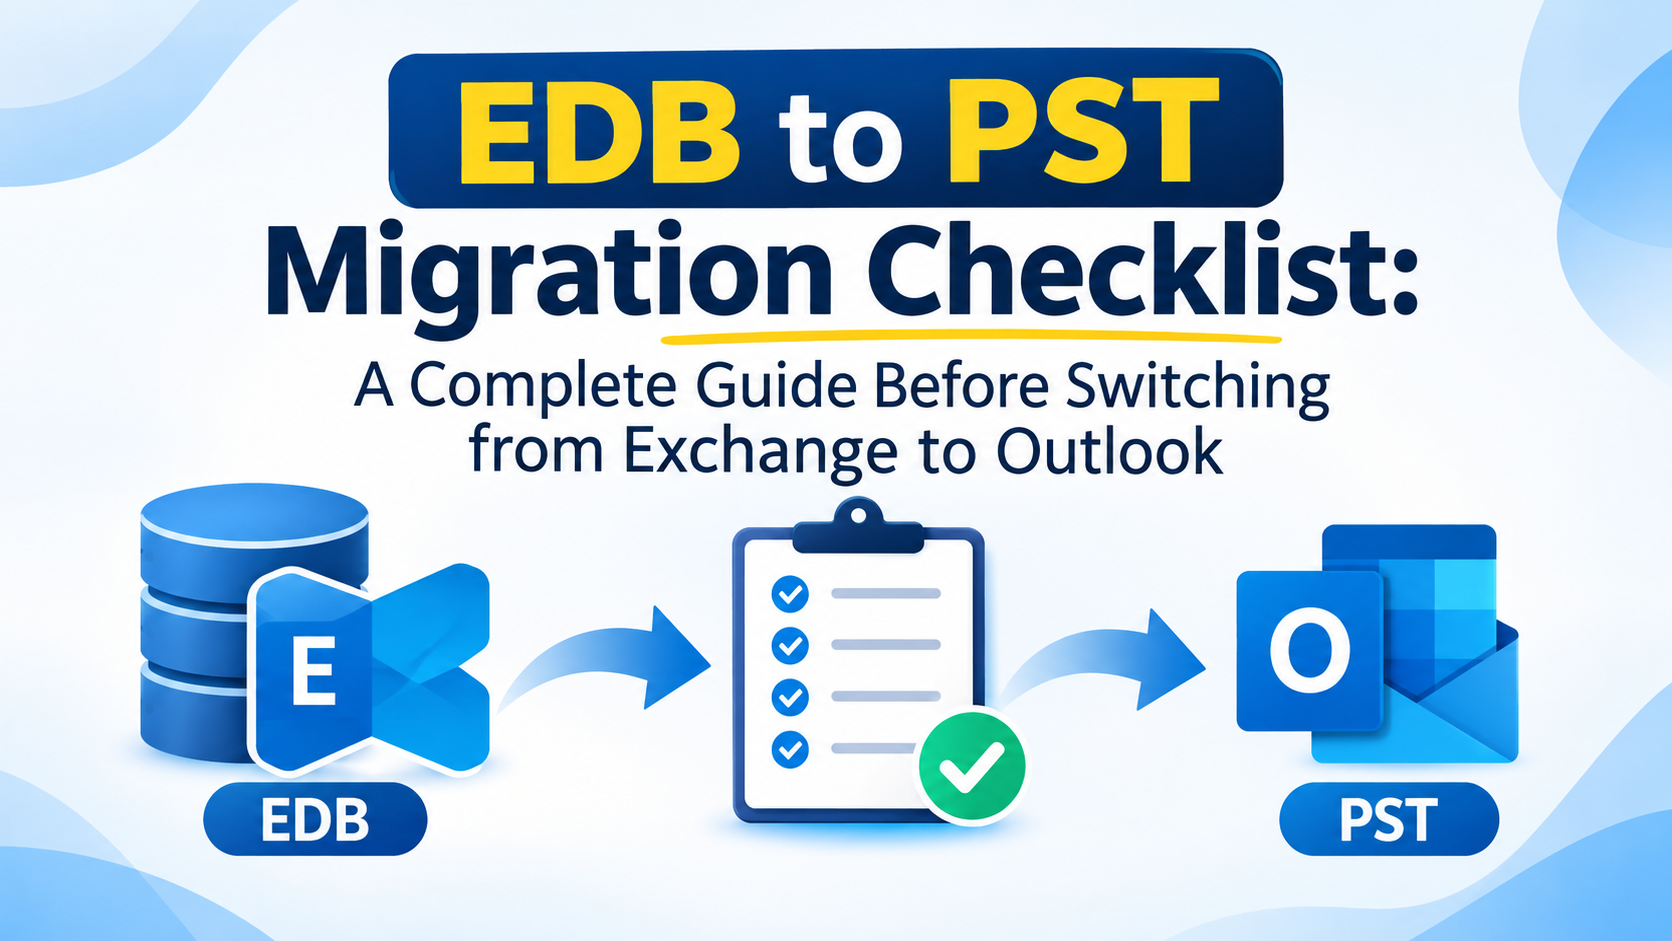
Migrating from Microsoft Exchange to Outlook is more than just a change in email platforms. Users also need to make their current mailbox data available in the new environment. Exchange maintains mailbox data in EDB (Exchange Database) files. Conversely, Outlook stores mailbox data locally in PST files. Therefore, EDB to PST conversion becomes an important part of the transition.
Before the Exchange to Outlook migration, users need to check their database files, find the essential mailbox information and set up the target environment. A thorough checklist can systematize the process and reduce the risk of overlooking vital mailbox records. Here are 10 important checks to perform before and during migration.
Phase 1: Pre-Migration Preparation and Assessment
1. Locate and Identify the Source EDB Files
□ Find the EDB files containing the required Exchange mailbox information.
□ Check the database version and the source location.
□ Check the status of the required database (online, offline, dismounted or unavailable).
Users can avoid selecting unnecessary files while converting EDB to PST by identifying the suitable Exchange database.
2. Analyse Mailbox Data and Migration Requirements
□ Determine which mailboxes need to be migrated to Outlook.
□ Decide if you require emails, contacts, calendars, tasks, notes and other mailbox items.
□ Decide whether public folders and private mailbox data are required.
This phase helps users understand the scope of the Exchange mailbox transfer and avoid unwanted data extraction.
3. Check the EDB Database Condition
□ Verify the health and accessibility of the Exchange database.
□ Identify any dismounting, accessibility difficulties, or corruption.
□ Make a separate backup copy of the original database files.
Database condition is a major factor, especially if you are working with outdated or inaccessible Exchange databases. Identifying potential problems in advance enables users to select an appropriate EDB file conversion method.
4. Check Your Disk Space and Storage Needs
□ Verify the size of the source EDB files.
□ Calculate the approximate storage required for the resulting PST files.
□ Check that there is enough free space on the destination drive.
Conversion can require a lot of storage for large Exchange databases. It is a good idea to verify the available disk space before starting the transfer to avoid interruptions.
5. Define Mailbox Organization and Export Requirements
□ Determine if you have to export a single mailbox or multiple mailboxes.
□ Determine whether you need to perform a selective mailbox conversion.
□ Decide if you want to keep the generated PST files separate.
Clear export criteria make it easier to arrange your mailbox data and work with the generated Outlook data files.
Phase 2: EDB Conversion & Data Extraction
6. Choose the Right EDB to PST Conversion Method
□ Check for available EDB to PST conversion options.
□ Verify that the selected method supports offline Exchange database files.
□ If you cannot access the database directly or extract it manually, consider using a professional tool such as Softaken EDB to PST Converter, which has the facility to convert numerous EDB files, preview mailbox information and select the required data for conversion. These capabilities allow users to manage the database extraction process according to their needs.
7. View Mailbox Content Preview
□ Look at the mailbox folders before conversion.
□ Verify sender, recipient, date and subject information.
□ Make sure the right mailbox items are ready to be exported.
Mailbox preview is useful for viewing the right data before creating Outlook-compatible PST files. It also helps users avoid exporting unrelated mailbox contents.
8. Check Export Settings and PST File Choices
□ Confirm the supported output formats and choose PST for Outlook migration.
□ Look for filters such as date range or message class.
□ Consider PST splitting options for large mailbox data.
These checks can allow users to control the exported mailbox information and manage the resulting PST files more efficiently.
Phase 3: Post-Migration Validation and Outlook Configuration
9. Check Converted PST Files and Mailbox Data
□ Verify the export status of all the mailboxes you selected.
□ Compare the source mailbox folders with the converted PST folder hierarchy.
□ Review important emails, attachments, contacts and calendar items.
□ Open the resulting PST files in a compatible Outlook environment.
It is important to undertake post-conversion verification because the successful creation of files does not necessarily mean that all the required mailbox information has been transferred successfully.
10. Configure Outlook and Verify Mailbox Data Accessibility
□ Verify that the destination Outlook environment is ready to use the PST files.
□ Import or open the converted PST files in Outlook.
□ Verify that you can access mailbox folders and their contents.
□ Keep the original Exchange database files until you have checked the migration results.
With these checks completed, users will have a more organized Outlook mailbox environment and will be able to retrieve their old Exchange records.
Conclusion
To migrate from Exchange to Outlook, it is necessary to prepare, assess the database, choose the mailboxes, and verify the post-migration results. The EDB to PST migration checklist allows you to go through the entire workflow from identifying the source database to previewing the new PST files in Outlook.
Some other factors like storage requirements, mailbox structure, attachments and export settings will help ensure a smooth transfer of data.