Introduction
Converting TGZ files to PST can be a little daunting, especially if you are new to email conversion. TGZ can be used as a compressed archive for exported data and may contain archived Gmail messages and other data, depending on how the archive was created. PST files, in contrast, are used by Microsoft Outlook to save email messages and other compatible mailbox objects.
Converting TGZ to PST can make archived emails easier to access in Outlook. You should prepare your archive and review the converted material beforehand to avoid any trouble.
In this checklist blog, I will tell you five practical actions that you can take as a non-technical user to prepare for TGZ to PST conversion, learn about the options that are available, and verify your email data.
Why Do You Need to Convert TGZ to PST?
A TGZ file is a compressed archive and can contain exported email data, while PST is a data file format used by Outlook. If users want to access archived emails in a suitable Outlook environment, they can convert TGZ files to PST files.
Some of the common reasons to convert TGZ to PST are:
· Outlook accessibility: Access email data that Microsoft Outlook supports.
· Email migration: Move archived email data into an Outlook-friendly workflow.
· Long-term storage: Organize your email archives for future reference.
· Data management: Make it easier to find and examine important communications.
· Business continuity: Maintain access to prior email communications when changing email platforms.
Note that the contents of a TGZ archive depend on how it was produced. Not all TGZ files include Gmail data and not all archive files can be converted directly into PST files without extraction or further processing.
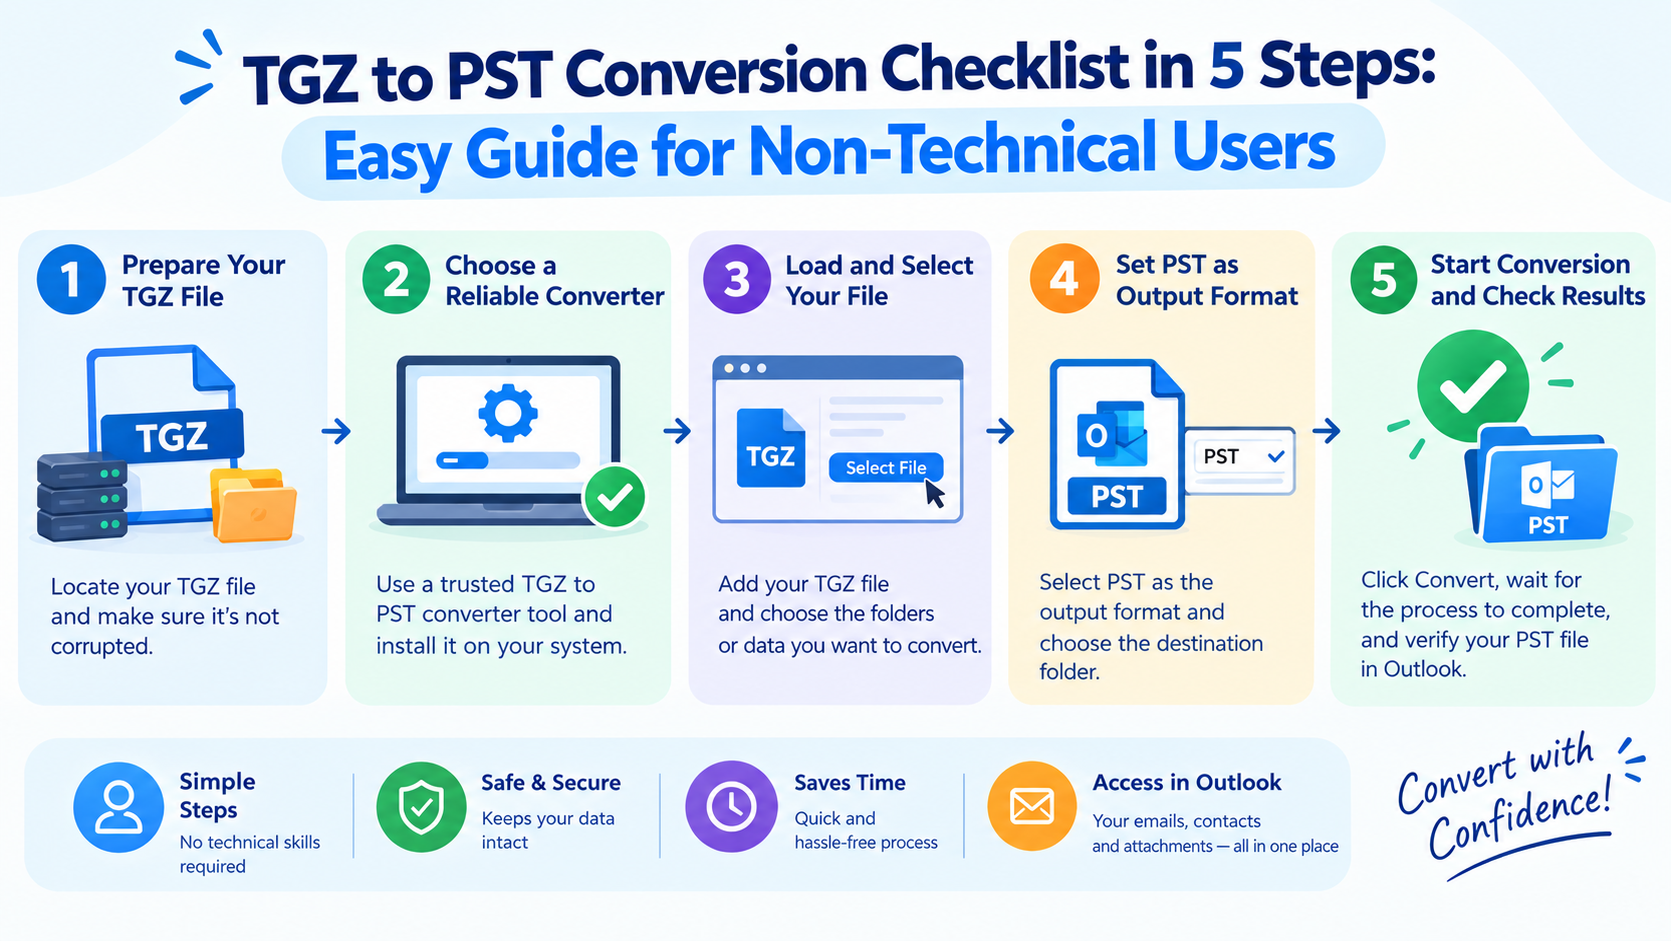
5-Step TGZ to PST Conversion Checklist
The checklist below will help you prepare your email archive and make the conversion process more systematic.
Step 1: Check Your TGZ File and Its Contents
Ensure you have the correct TGZ file and that it is available before converting your archive.
Checklist:
☐ Find the TGZ file on your PC.
☐ Check the file size and make sure it is not unexpectedly empty.
☐ Ensure the file has been successfully downloaded or exported.
☐ Identify the source of the archive, e.g., a Google Takeout export.
☐ Keep a copy of the original TGZ file.
If your archive is from Google Takeout, then the compressed bundle can contain MBOX files and other exported data. You might need to extract the TGZ archive before processing the email files.
Pro Tip: Do not remove the original archive after extracting it. A clean backup gives you the ability to restore the original data if something goes wrong.
Step 2: Extract the TGZ Archive if Required
The next step is to see if your email data has to be extracted before converting.
Checklist:
☐ Open the TGZ file with a compatible archive program.
☐ Extract its contents to a folder where you have adequate free space.
☐ Search the extracted directories for exported email files.
☐ Identify the actual email format, such as MBOX, if present.
☐ Check whether the conversion method you have chosen can open or handle the files.
This is important since TGZ is a compressed archive format, not an email mailbox format as such. Depending on the nature of the archive, you will need a conversion process that can handle the extracted email format, not just the TGZ file.
Pro Tip: Don't rename or move files unnecessarily until you know which files contain your email messages.
Step 3: Choose a Suitable TGZ to PST Conversion Method
When you know what’s in the archive, pick a strategy that suits your particular file structure.
There are two main approaches:
Manual Conversion Process
One manual method could be to extract the TGZ archive and transform the email files into a supported intermediate format. The messages could then be imported or transferred into Outlook and exported to PST. The precise steps depend on the source format and the applications you have at hand.
Checklist:
☐ Make sure the workflow you intend to use supports your email files.
☐ Check if intermediate conversion is needed.
☐ Make sure your version of Outlook supports the import or export process you want to use.
☐ Look for any restrictions on folders, attachments and message information.
☐ Test the workflow on a small sample before running it on the full archive.
Professional Conversion Process
If the manual conversion is too complex, a dedicated conversion utility can ease the operation. Users can use simple but professional conversion tools like GainTools TGZ to PST Converter for this task.
Checklist:
☐ See the input formats supported by the tool.
☐ Verify PST output.
☐ Check the supported Outlook versions and system requirements.
☐ Look for any preview, filter, or folder selection tools you may require.
☐ Understand the license, restrictions and data handling.
Step 4: Convert the Email Data to PST
Choose the method that works for you and proceed with the conversion. For the software or workflow you choose, follow the provided directions.
Checklist:
☐ Select the appropriate source archive or extracted email files.
☐ Set the output format to PST, if the output format is available.
☐ Choose a destination folder with enough free space.
☐ Avoid shutting down or interrupting the computer while the conversion is in progress.
☐ Watch for faults or warnings during conversion.
☐ Save the resulting PST file to a clearly identified location.
Conversion of large email archives can take longer depending on the size of the file, machine speed, and number of messages. Do not interrupt the procedure before it is complete.
Pro Tip: Use a descriptive output filename, such as Email_Archive_Converted.pst, so you can differentiate the converted file from other Outlook data files.
Step 5: Verify the PST File and Import It into Outlook
The conversion process does not guarantee that all messages and attachments have been moved accurately. The final step is to validate the output.
Checklist:
☐ Verify that the PST file is available at the chosen location.
☐ Check its size for evident indicators of truncated output.
☐ Open or import the PST file using a supported version of Outlook.
☐ Examine the folder structure and message counts if possible.
☐ Open sample emails in different folders.
☐ View important attachments and message details.
☐ Keep the TGZ archive until the verification is complete.
If you see an error message in Outlook, examine the file path, storage space, PST compatibility and whether the conversion was successful. Don't assume the PST is valid simply because it has a .pst extension.
Pro Tip: Compare a sample of the converted emails to the original archive. Be particularly alert for important business messages, dates, attachments and folder organization.
Common Mistakes to Avoid When Converting TGZ to PST
Ignoring preparation might cause complications even for a simple email migration. Don’t make these typical mistakes:
· Skipping backup: Always keep the original TGZ archive.
· Ignoring archive contents: Find out if the TGZ contains MBOX files or something else, then choose a technique.
· Working with an incompatible tool: Verify the input format and required PST output.
· Ignoring storage requirements: The extraction and conversion require considerable space.
· Skipping verification: Before you rely on the PST file, check the converted emails and attachments.
· Deleting source files too early: Keep the original data until you know the outcome is usable.
By following these measures, you can avoid unnecessary mistakes during the email migration process.
Final Checklist
Before you finish your TGZ to PST conversion, check out this final summary:
☐ Backed up the original TGZ file.
☐ Extracted the archive when necessary.
☐ Determined the email format and conversion requirements.
☐ Used a compatible conversion method.
☐ Generated the PST output successfully.
☐ Reviewed converted emails and attachments.
☐ Saved the PST file securely for future reference.
Conclusion
The conversion of TGZ files to PST can be easily managed by breaking the procedure into simple and practical phases. Check your archive, extract its contents where needed, select a compatible conversion technique, process the email data and verify the resulting PST file to migrate your email with more assurance.
For the non-technical user, the most important idea is to prepare before conversion and verify before deletion. Back up your original data, understand the archive structure and verify that the converted emails are available in Outlook. This five-step checklist provides a practical starting point for organizing and preparing your archived email data for future use.